Cabinet Refacing with Wood Grain Wraps
You've decided to update the look of your dirty, aging cabinets and, since
you're not a self-made millionaire you won't be swinging by Home Depot to pick
up a full set of replacement cabinets for your kitchen in bath. Instead,
somebody told you how you can reface your cabinetry with peel-and-stick
woodgrain vinyl and you've either bought it online from a site like ours or
found it locally. Now that you have your roll of precut sheets of wood grain
wraps, you just need to figure out how to apply it and be the home improvement
hero your family needs!
Cabinet & Furniture Wrap Supplies
We recommend the following
supplies and tools to make your wrapping experience as flawless as possible:
- A sheet of the wood grain vinyl you want to use to reface your cabinets
- An Olfa-style Exacto knife
- Heat gun
(optional)
- Squeegee
- Sanding block
2500 grit sandpaper

Step 1: Clean and Prepare
Before applying the vinyl wrap to the target surface, make sure your
surface is clean. Use a general cleaner to remove surface contaminants
that may hinder adhesion.
If your surface is uneven, chipped, peeling or generally in questionable
condition, sand or scrape off anything that will create an undesirable
impression or look.
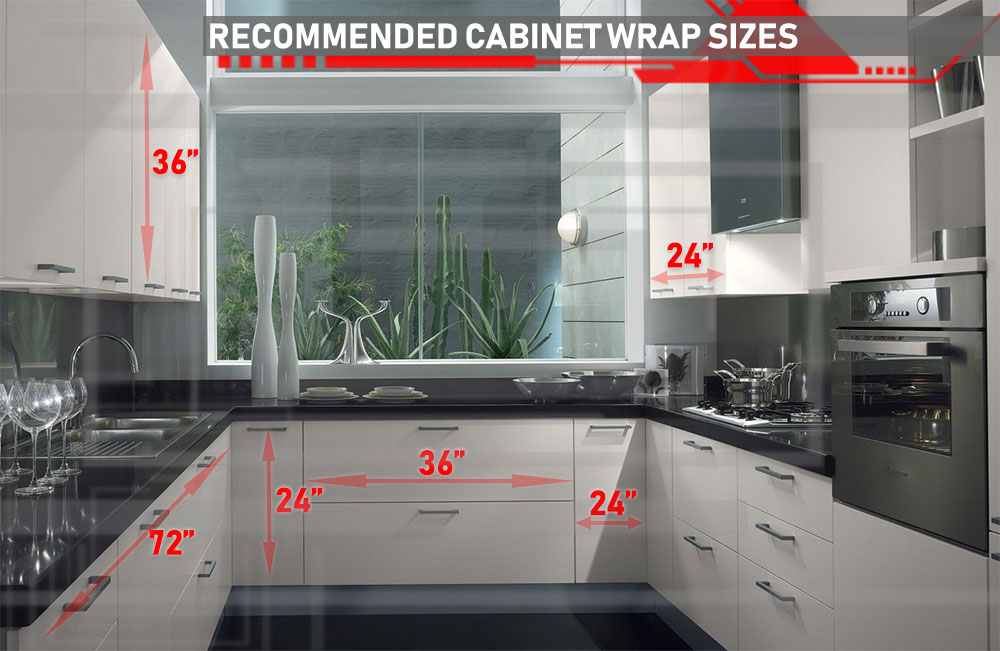
Once surface is dry, measure your piece of vinyl and cut to desired
shape (make sure you leave a 2-inch excess on all sides for easier
handling).
Lastly, peel the Rwraps™ liner backing from the vinyl and
place the film into it's desired position.
Using a flat edge or squeegee, use moderate pressure starting from the
middle - outwards and push any trapped air to the edges of your panel
until expelled. Using a heat gun and light pressure, seal the vinyl into
place.

Step 2: Cut Corners and Edges
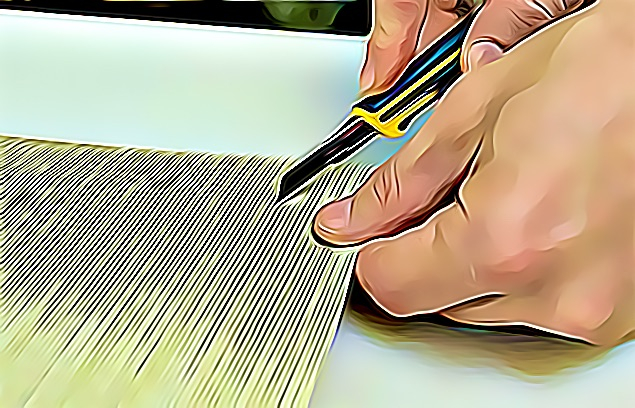
Using a sharp blade, slit the corner of the panel at a 45-degree angle. This is the first step in making clean edges.

Step 3: Cut Corners and Edges Continued
Fold the edge onto the adjacent side for easier
detailing.
Using a sharp blade, trim the excess film
leaving a 3 to 5 mm wrap around the edge. This
seam will allow for a long-term application
without the chances of peeling.

Step 4: Under-fold and Cut Away Excess Vinyl
Apply the film over the "under-fold" and align the excess for
a clean trim.
By holding the tip of the excess, carefully cut the excess from
the corner edge for a seamless look.

Step 5: Seal Edges
Once the corner is flush, heat, press and seal the vinyl into place.

Step 5: (Optional) Sanding Edges
As a final, and completely optional step, you may gently rub the seam on the corner with medium or fine-grit sandpaper so that no edge can be felt. But don't overdo it as you can cause the film to peel. As a finishing touch you can also use a Seal-It pen to seal any seams.