How to Make DIY Stained-Glass Decals
Translucent vinyl is generally used by sign companies to make backlit signage
for any number of commercial applications but, did you know, that translucent
films can be used to create your own, handmade stained-glass designs? In today's
post we'll take a look at one way you can design and make your own stained-glass
style window decals using supplies you can find at home — no special tools or
vinyl cutting machines required! Before we get started on the details, let's
compile a short list of the things you need to make the sunrise stain glass
decal shown below.
DIY Stained Glass Decal Supplies
- Scissors
- Razor
- Application Card
- Sharpie
- Printer
- Paper
- Translucent Vinyl
We used 5 different colors of translucent film in this project.
-
Avery Dennison™ UC900 Holly Green:
This film is a dark green and perfect for making the rolling hills in our
sunrise, stain glass motif.
-
Avery™ UC900 Translucent Orange Film:
This vinyl is the perfect deep, orange to convey the warmth of the morning
sun.
-
Avery™ UC900 Translucent Tomato Red Pantone 485 C: The orange-red tone
of this film is a great way to set off the yellow and oranges used in the
rest of the decal.
-
Avery™ UC900 Translucent Teal Pantone 321 C:
We wanted to try to convey the blue of distant and rolling hills but it may
have come off more like a winding river. Either way, this is a great color
for the stained-glass window sticker.
-
3M™ Scotchcal™ 3630 Translucent Light Lemon Yellow:
The only non-Avery film in the bunch, this was the perfect tone for the
bright, rising sun.

Step 1: Find and Print Out Template
This is probably the most fun and easiest part of the whole process. Simply decide on the decal you'll be making with your Translucent Vinyl. Literally search "stained glass template" in Google or type the same in Google Image Search and you'll find thousands of templates. Pick the one you want, copy it and paste it into Word or Google Docs.
Be sure you resize the template to your desired dimensions. The template can be pixelated since it's just a guide. In other words, it doesn't have to be pretty.
TIP: If you want the decal to appear exactly as it looks in the template you will need to print out the mirror image.

Step 2: Choose Your Color Scheme
This is really self-explanatory. Either use what you have at home or plan to buy the desired colors. We carry a wide variety of Avery™, ORACAL® and 3M™ Translucent Vinyl films so you may want to stick with us.
Otherwise you can surely find this film elsewhere. In this project we used only
the highest-grade Avery Dennison™ and 3M™ Scotchcal™ films for durability and
performance.

Step 3: Trace Your Pattern
Once you've assembled all of your vinyl and materials you're ready to start
tracing your decal template. You can either tape the vinyl to the paper or free
hand it like we did. This step really depends on you. One thing that makes using
these higher-quality films a must is that all three brands we carry have a
clear liner.
TIP: If you buy cheaper Translucent Vinyl elsewhere you never know if
you're going to get a paper liner. See-through liners are what allowed us to
make this sunrise stained-glass decal by hand and without the aid of computer
design programs or electronic cutters.

Step 4: Cut Out Decal
After you've traced your decal on the reverse or liner-side of the Translucent Vinyl you can begin cutting. You can either cut out all of the pieces or only those you think you're going to use. We used scissors but you can use an Exacto blade if you like.

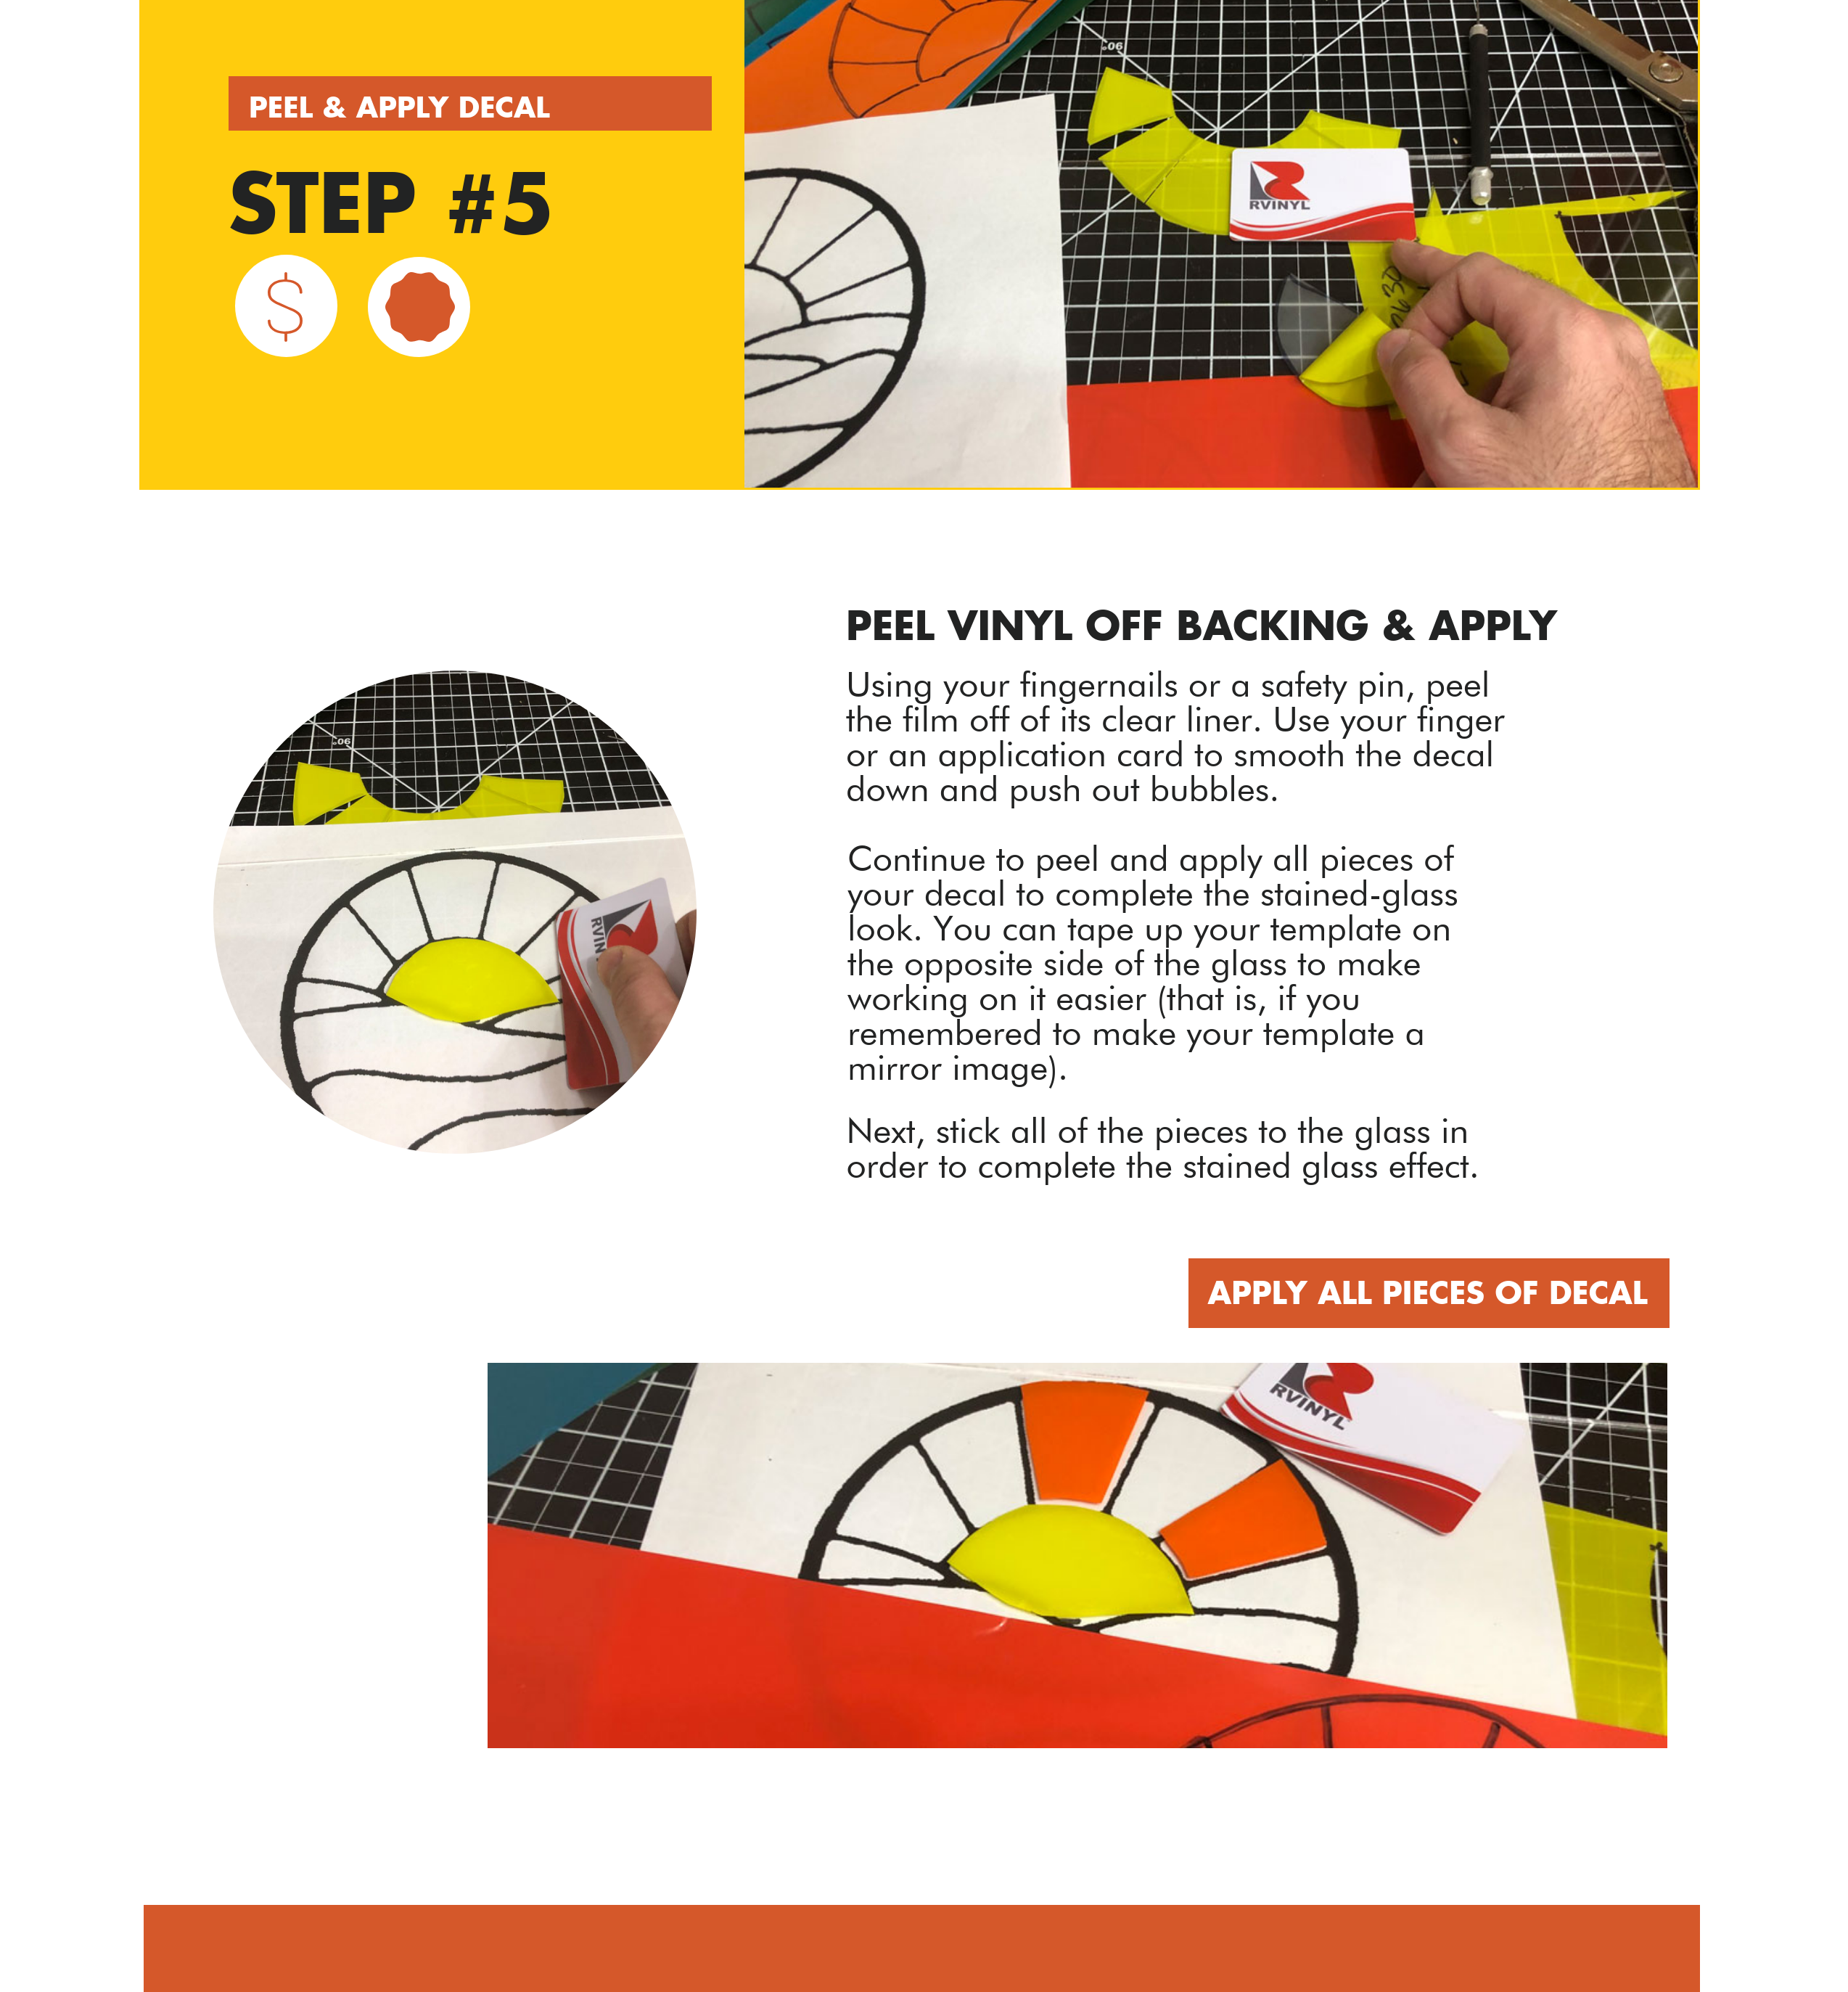
Step 5: Peel and Apply Decal
Using your fingernails or a safety pin, peel the film off of its clear liner.
Use your finger or an application card to smooth the decal down and push out
bubbles.
Continue to peel and apply all pieces of your decal to complete the
stained-glass look. You can tape up your template on the opposite side of the
glass to make working on it easier (that is, if you remembered to make
your template a mirror image).
Next, stick all of the pieces to the glass in order to complete the stained
glass effect.

Decal Accomplished: Aftercare
If there are any bubbles remaining you can use a safety-pin or needle to pop any
bubbles you couldn't squeegee out.
You can clean the decal with soapy water but do not use any abrasives or harsh
chemicals. Most translucent vinyl films will last for a minimum of 3 years
although some can last up to ten.