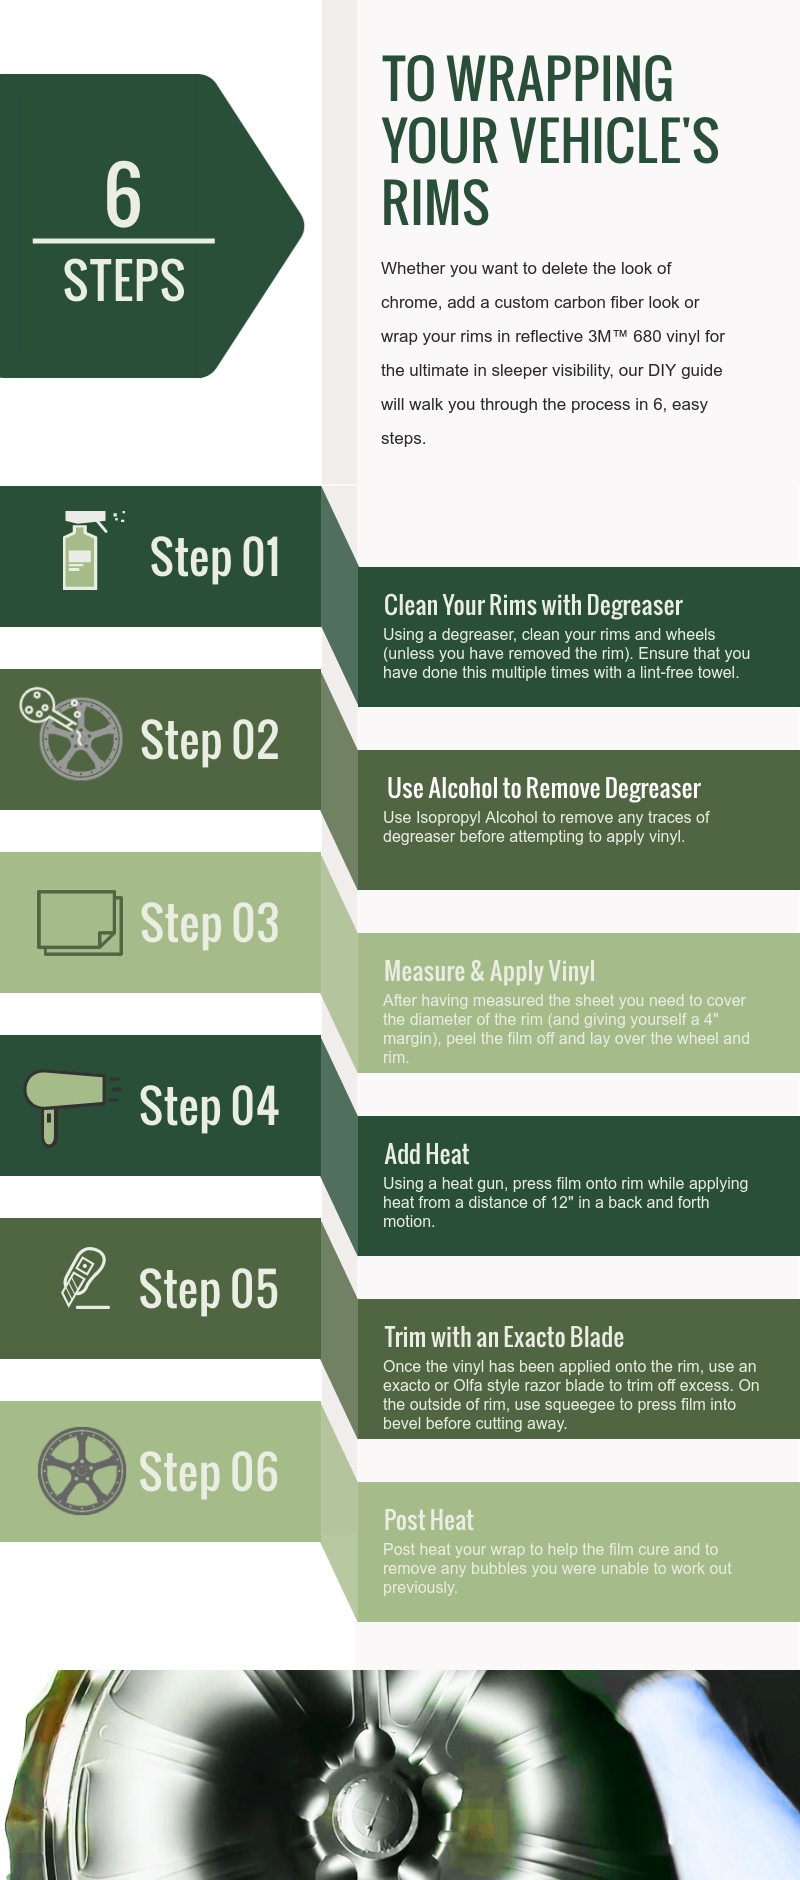
6 Steps to Wrap Your Rims
Whether you're tired of the look of your chrome rims, want to hide damaged
and scuffed rims or want a stylish way to add a little protection from curb
rash, rim wrap are the way to go. Choose from a dizzying variety of styles and
brands to get just the look you want like 3M™ Scotchlite 680 film for
reflective rims, Avery™ Carbon Fiber for a custom look or Rwraps™ Sticker Bomb to show off your JDM style, we've got it all and more.
For the most part you will either want to purchase a 48-inch by 60-inch sheet of
film per pair but, since everyone is different and there are a variety of rim
sizes out there, you'll want to measure carefully before you purchase.
Supplies You'll Need for Rim Wrapping
We recommend the following
supplies and tools to make your wrapping experience as flawless as possible:
- One sheet of vinyl for each wheel with at least a two inch margin on all
sides
- An Olfa-style Exacto knife
- Heat gun
- Squeegee
- Degreaser
- Lint-Free Towel
- Isopropyl Alcohol
- 3M™ Primer Pen
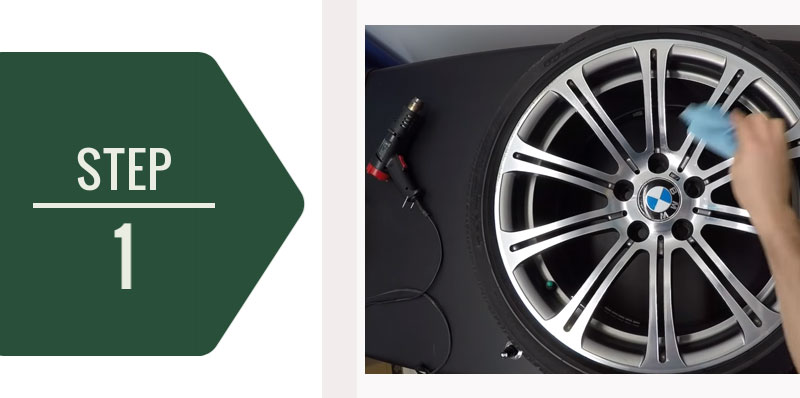
Step 1: Clean and Degrease Rims
Before applying the vinyl wrap to the surface your vehicle's rims, it is
absolutely necessary that you clean well. Because your rims are in contact with
grease and grime on a daily basis you should use a heavy duty degreaser to clean
the rim and (unless you have removed it) the tire as well. You should do this at
least twice, being sure to clean the undercarriage and surrounding panels as
well.
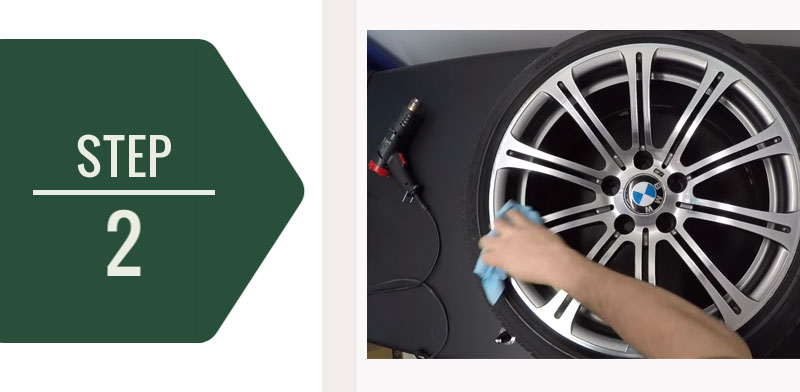
Step 2: Reclean with Isopropyl Alcohol
Because degreaser can compromise the adhesive of your rim wrap, use a
lint-free cloth with rubbing alcohol to reclean all surfaces. This will remove
the degreaser and any left-over dirt and debris.
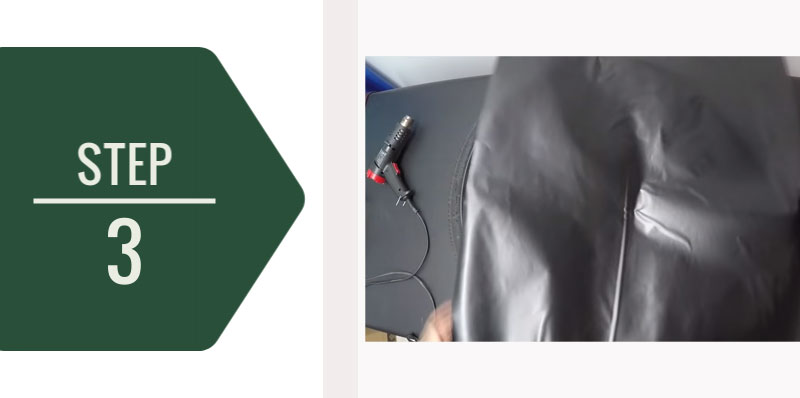
Step 3: Lay Down Your Pre-Measured Rim Wrap
Once surface is dry, peel the wrap film from the backing and lay it on the
rim, making sure you leave a 2-inch excess on all sides for easier handling.
Using your fingers, tack down the film in its desired position.
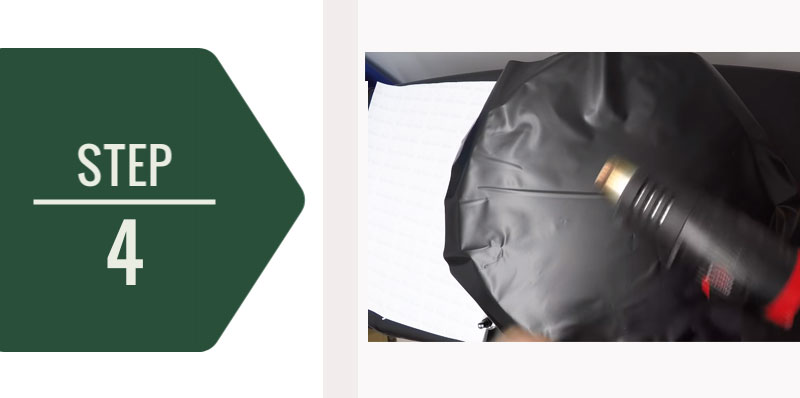
Step 4: Apply Heat and Squeegee On
Begin to apply heat while you use a flat edge or squeegee to push the film
into place. Use moderate pressure starting from the
middle and moving outwards. At the same time apply your heat in a back-and-forth
motion at 8 to 12-inches away from film (thicker and textured films will require
you to be closer). Push any trapped air to the edges of your panel until
expelled.
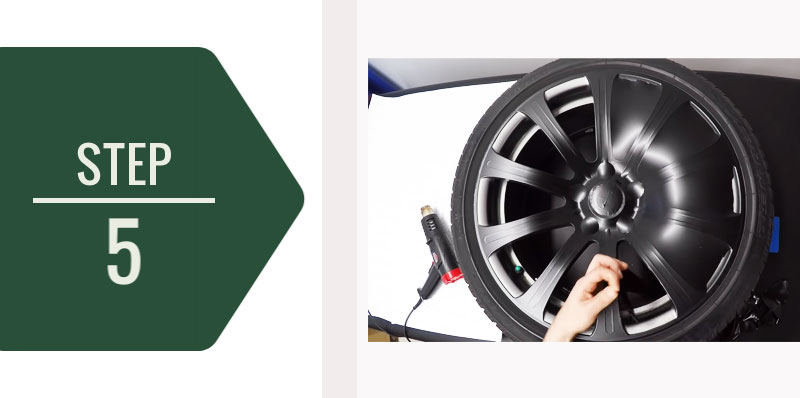
Step 5: Seal & Trim
Use your squeegee to firmly press down and into bevels and crevices.
Next, trim away all excess vinyl with your razor.
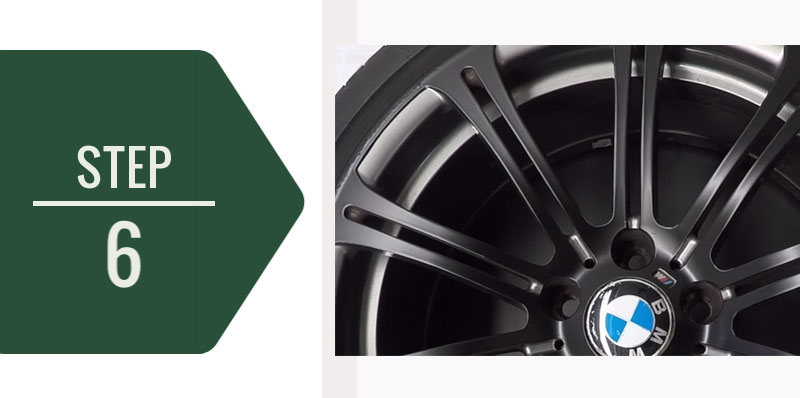
Step 6: Post-Heat Your Rim Wrap
Finally, post-heat your film and trim ay final excess away. Once you've done
this you can sit back and enjoy the custom look of your all new rim wrap! And,
folks, that's all there is to it.
Get Your Rim Wraps Now
Now that you know how, what are you waiting for? Pick up a custom rim wrap kit today!