Headlight and Fog Light Protection
Shield your car's lights from road debris and weather damage with headlight and fog light protection. You invested in your automobile and need to keep it looking great. Protective options abound for every part of your vehicle, including films to keep your headlights shining brightly.

Types of Fog Light and Headlight Protection
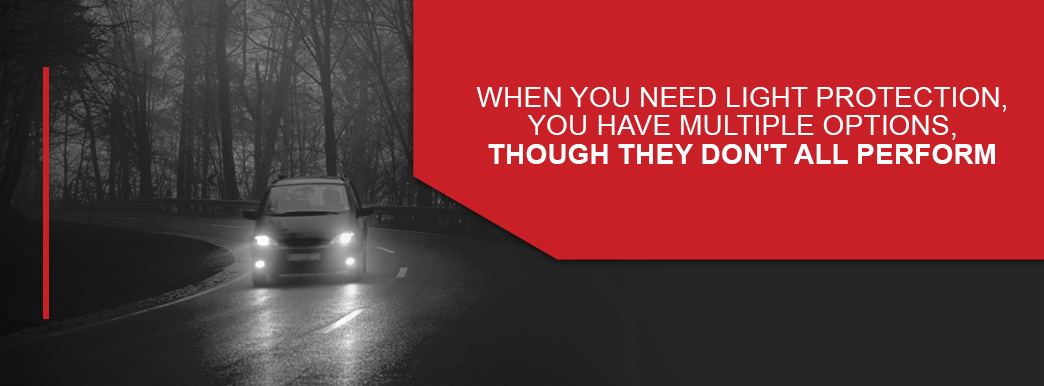
When you need light protection, you have multiple options, though they don't all perform the same. Among sprays, covers, waxes and films, the last is the most effective at protecting the lights because it creates a physical barrier that cannot wash off and does not affect the tint of the lights. Clear films fit precisely over the lens, molding to the light's shape without changing the brightness — something colored covers can't do.
Not all areas allow tinted headlights or fog lights. If you want to keep your car street-legal while making the headlights last longer, use clear film coatings for the light covers. Tinted coatings work best for showing your vehicle in areas that have outlawed these films.

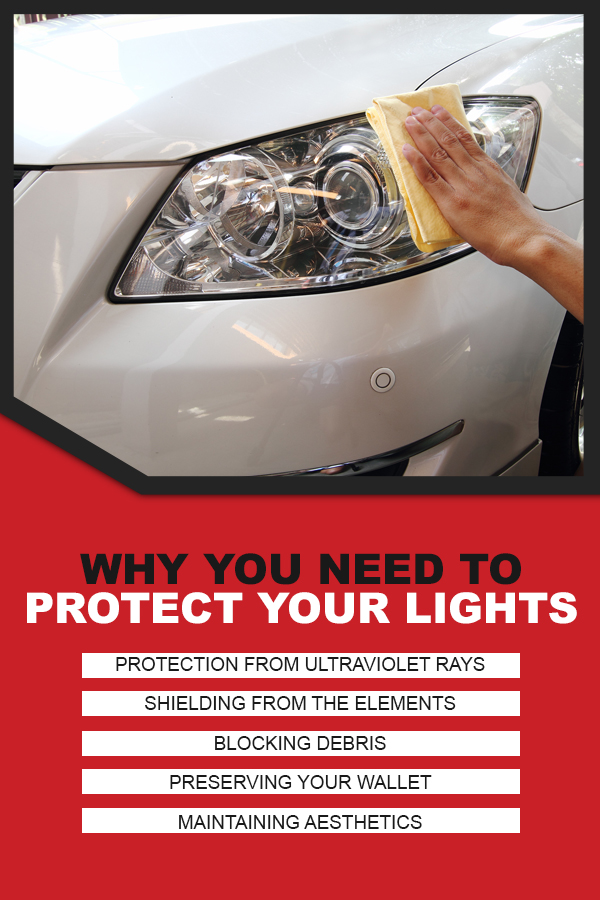
Why You Need to Protect Your Lights
Protecting your headlights not only keeps you safe but also protects other drivers. According to the National Highway Transportation Safety Administration, dirty headlights reduce visibility for drivers due to their light erratically scattering around dirt or damage on the lenses. Additionally, other drivers may experience glare from your dirty headlights. Protecting your headlamps from damage helps reduce accidents and improves night driving.
1. Protection From Ultraviolet Rays
Headlights and fog lights have coverings that discolor and cloud when exposed to ultraviolet light from the sun. The UV light reacts with the plastic surface, pitting it. The pits refract light, so instead of seeing clearly through the plastic to the bulb behind, you see a cloudy surface from the oxidation of the plastic.
Cloudy headlights and fog lights don't allow the light from the bulbs to shine through them as clearly. You may lose enough illumination to think you need to replace the bulbs when you only need to restore the plastic lenses and protect them from further damage.
Because the UV rays have affected the plastic structure of the lens, you cannot just wash off the cloudiness. You need full restoration of the headlamp lenses before installing a protective film. While you start by washing the headlamps, you need to sand off the affected plastic to remove the pitted portion. Then use a restoration kit to get the lenses back to their original clarity. Once clean, install protection over the lenses to keep oxidation from UV exposure at bay.
2. Shielding From the Elements
You may reduce UV damage by keeping your vehicle in the shade, but you won't get away from the elements. If you park in cooler, dark places, you may have moisture buildup inside the headlamps. This moisture comes from condensation: the same principle that creates moisture on the outside of a cold soda can on a hot day.
When you use your headlights or fog lights, the interiors heat up and remain hot for a while after you turn off the lights. If parked in a cool place, the lenses cool down slightly faster than the air inside the lamps. The temperature difference allows moisture from the cooler air to condense on the inside of the lenses, clouding the light with condensation. Usually, as soon as temperatures warm, the droplets inside the headlamps or fog lights evaporate.
If you have poorly vented headlights, condensation is more likely. When installing the protective film, check for adequate venting of your headlights. Don't block any existing vents. You don't want to trap humid air inside the lamps. Instead of needing to completely seal the lights, you need a way for the moist air to escape. Refer to the owner's manual for venting information.
While protective films won't always prevent moisture collection, which is normal for most vehicles, they can help keep your headlights and fog lights defended against other forces of nature. Clouding may happen from chemicals in the atmosphere or exposure to dirt on the road instead of UV-caused oxidation. If you protect your headlights or fog lights from these elements, you reduce the chances of your headlights clouding. You will know oxidation did not cause the clouding if soap and water clean off the headlamps.
3. Blocking Debris
Oxidation from UV lights reacting to the polycarbonate material on the lenses causes pitting. Road debris does, too. You may not appreciate how much your vehicle experiences. Every time you drive, dirt, gravel and road debris bombard the front part of your car, including the lenses of your fog lights and headlights. Even tiny pieces of debris have an abrasive action when they're hurled at your car at 30 miles an hour or faster.
In addition to damaging your lenses physically, dirt can also cake on the surface of the lights, clouding them as much as oxidation can. Film coverings on your lenses keep debris from directly impacting the plastic lens covers. Dirt won't accumulate and debris won't cause as much damage when you have protective coverings on your fog lights and headlights.
4. Preserving Your Wallet
You may not think of protecting your wallet when looking for ways to make your car look better. Think again. By installing protective films over your headlights or fog lights, you avoid the extra cost and installation effort of needing to replace the entire headlight assembly.
If you have severely damaged fog lights or headlights that you cannot clear with restoration kits, you will need to replace the entire lamp assembly. Manufacturers don't sell the lenses separately. So, while you can change out the bulb, if you have severe damage on the lenses of your fog lights or headlights, you need to get new lamp assemblies. These assemblies include the reflector and the polycarbonate surface as well as correct venting for the lens and a place for the bulb.
Depending on the vehicle you drive, you could pay hundreds to have a new headlamp installed. Why would you waste that much money to get restored headlights? Protecting the lenses from damage in the first place can help you avoid the high costs of replacing the fog lights or lamps.
5. Maintaining Aesthetics
Protective films over your headlights keep your vehicle looking great. If you plan to resell your car in the future, you want the headlights and fog lights to look new. Without protection, oxidation from UV rays and debris damage will cause the lights to appear dull and cloudy. Protected headlights look new, improving your entire vehicle's appearance. A well-maintained car can increase your trade-in value or selling price, and you only need a small investment in protective film for your lights.
Protective films for headlights and fog lights come in a range of colors, giving you control over how your vehicle looks. Always check your local laws governing light tinting, first. Some colors reduce the amount of light emitted. For our universal Rshield fog light protection film, we have clear and smoke tint colors to choose from. You have the same options if you want headlight protection film. Colors include blue, yellow, light smoke and dark smoke colors.
Since darker tinted films reduce the light emitted, you may not be able to drive with them at night. Still, the protective films add visual appeal to your car if you want to show it. Because these films come off cleanly, you can always remove the dark covering if you need to drive at night and then apply a new dark tint the next time you show your car.
Light Protection Options
How to best protect headlights comes down to choosing the type of film you want to use. You may wish to install clear film for maximum light brightness or tinted films for a customized appearance. If you plan on putting light protective films on multiple cars, consider a bulk film that you cut and apply to match the type of lights on your vehicle. Vehicle-specific kits make application simple.
1. Clear Protective Films
Clear protective films for your fog lights and headlights measure 12 to 15 mm thick, which is five times thicker than tinted films. This extra thickness increases the durability of the lights, keeping road debris such as gravel and dirt from damaging the polycarbonate exterior of your headlamps and fog lights. Thinner tinted films, at only 3 mm, won't shield your fog lights and headlights as effectively as protective films.
Because they have greater thickness, clear protective films require more heat and effort to install compared to tinted films. Have all the necessary installation materials ready before you begin the process to reduce frustration. Even thicker clear films install relatively easily on your car. If you can install a protective plastic or glass film on your smartphone, you can install these protective films on your car's lights.
2. Tinted Films
If you want protection and a slightly darker smoke tint, consider ordering protective films in a color other than clear. Remember that only clear covers allow 100% of light through. Light smoke tinted films emit 87% of the light from the bulb. Yellow smoke and blue smoke tints offer 86% and 83%, respectively, light transmission. The least bright is dark smoke, which only allows 67% of light through. Check your local laws regarding headlight and fog light tinting before choosing a colored protective film.
3. Vehicle-Specific Kits
To make your installation efforts easier, consider vehicle-specific protective film kits. You order the package based on your car's make, model and year, and you get pre-cut films for your fog lights or headlights. This option is great for a first-time installer because you can skip the cutting step. Other portions of the installation process remain the same, though.
4. Bulk Film
If you need to install protective film on the headlights of several vehicles with different makes and models or if you want the extra covering material in case you make a mistake during installation, choose a bulk option. This economical option gives you the flexibility to select the vehicles you install it on, in addition to leeway during installation.
Over time, the protective film will need replacement as it picks up dust and dirt. With a bulk roll, you already have the replacement film on hand.

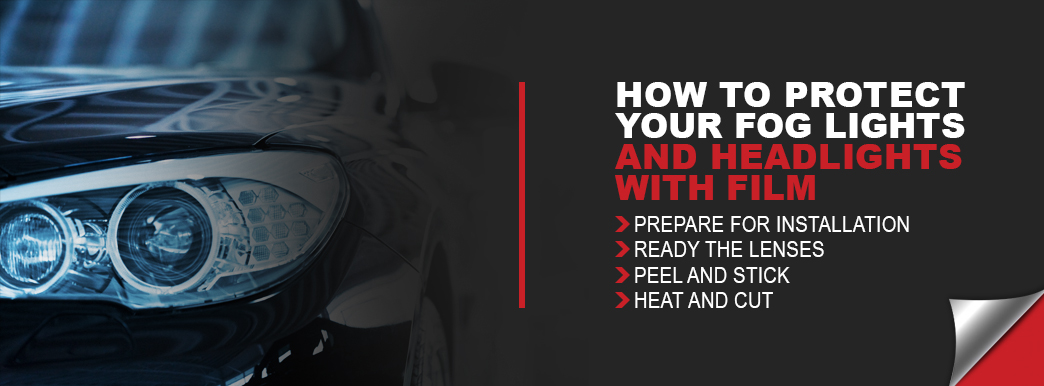
How to Protect Your Fog Lights and Headlights With Film
When it comes time to protect your fog lights or headlights, the installation process closely follows the one for our thinner tinting.
You will need a squeegee, a razor blade for cutting bulk film, a hair dryer or heat gun, Rapid Tac, Rapid Prep and Rapid Clear. Installing your protection film only takes a handful of steps, and most people can see this process through in an afternoon.
1. Prepare for Installation
Choose a warm and dry day, preferably between 70 and 80 degrees Fahrenheit. Keep your lights on before installation to warm the surface. Shut off the lights when you begin cleaning their surfaces with Rapid Prep. If you don't thoroughly wash and dry the surface, the protective film will not stick.
Test your cleaning job with masking tape. Try to place a piece of masking tape on the cleaned lens. If it sticks, you are ready for installation. If not, keep cleaning.
2. Ready the Lenses
Spray a coating of Rapid Tac onto the lenses until they're entirely wet. Don't forget to cover the surrounding trim and gaskets. This liquid will make positioning the film easier. If you don't have enough Rapid Tac on the lenses, the film will stick to the light lenses too quickly, making it difficult to move into the correct position.
3. Peel and Stick
Moisten your fingers with Rapid Tac and pull the adhesive backing off the film. Spray more Rapid Tac onto the adhesive to ready it for positioning. Line the material up with the light and press the sticky side onto the moistened lens. Some kits will include application tabs so you don't have to touch the adhesive.
Spray more Rapid Tac on the exterior of the protective film and press it into place with a squeegee. For curving lights, apply in a spiral per our installation guide. Using a squeegee helps remove all the bubbles and extra moisture from under the film. Pull up the covering if you cannot get the bubbles out with a squeegee. If you keep the film and surface wet, you can remove and replace the covering as many times as needed.
4. Heat and Cut
Using a heat gun or hair dryer, warm the applied film to dry and cure it. Cut away the excess with a razor blade. Wait at least half an hour to allow the film to cure and let any moisture inside evaporate through the material. Use Rapid Clear after finishing to polish the film on your headlights or fog lights.
The benefit of protective film for your headlights and fog lights is how forgiving the film responds to mistakes in placement during installation. As long as the film stays wet, it will not irreparably stick to itself or the light lens. When ordering a protective film, don't forget the installation accessories to ensure your film adequately adheres to the lights to provide them with the greatest level of protection.

Maintain Your Vehicle and Protect Your Investment
Protect the investment you made in your vehicle by keeping the headlights and fog lights looking great and working well. Protective films can keep these lights bright, maintaining your car's appearance without the cost of replacing the lights.