


-


-


-

-

-

-

-

Satin White Aluminum
Starting at$15.49$18.90Unit price /Unavailable -


Matte Khaki Green
Starting at$14.49Unit price /Unavailable -

-

Matte Military Green
Starting at$15.49$18.90Unit price /Unavailable -

-

Matte Metallic Frosty Blue
Starting at$14.49Unit price /Unavailable -

Satin Battleship Gray
Starting at$15.49$18.90Unit price /Unavailable -

-

Matte Olive Green
Starting at$14.49Unit price /Unavailable -

-

Satin Frozen Vanilla
Starting at$16.99$20.73Unit price /Unavailable -

-

Gloss White Aluminum
Starting at$15.49$18.90Unit price /Unavailable -
 Sold Out
-

Matte Metallic Silver
Starting at$14.49Unit price /Unavailable -

-

Gloss White Pearl
Starting at$14.49Unit price /Unavailable -

Matte Pine Green Metallic
Starting at$15.49$18.90Unit price /Unavailable


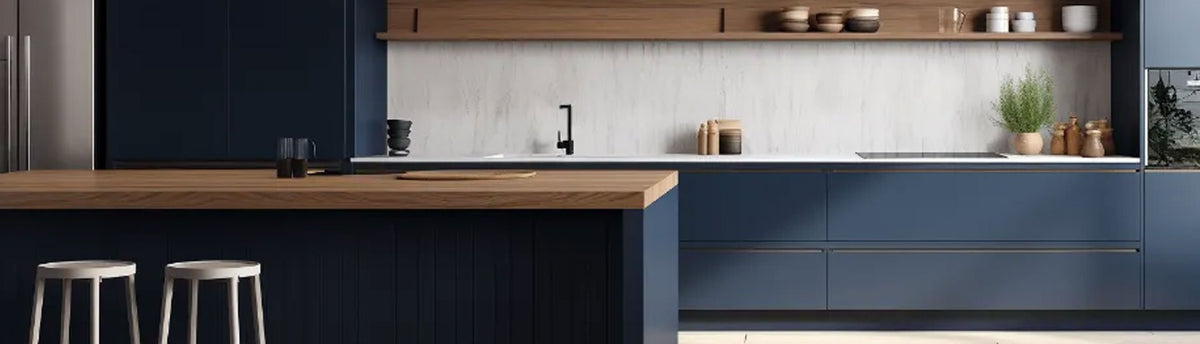
Cabinet Wraps for DIY Cabinet Makeovers
Completely transform the look of any room with premium cabinet wraps. These durable, high-quality vinyl films offer a cost-effective and highly customizable alternative to replacing or repainting existing cabinetry. Whether updating a kitchen, refreshing a bathroom vanity, or modernizing an office workspace, wrapping cabinets provides a stunning, professional-grade finish.

What Are Cabinet Wraps?
Cabinet wraps are specialized architectural vinyl films engineered specifically to adhere to smooth, clean cabinet surfaces. They are used to dramatically change the appearance of cabinet doors, drawer fronts, and flat side panels without the need for demolition or messy construction. The wrapper can choose from an incredible variety of colors, textures, and finishes to achieve the exact aesthetic desired.
These films act as a durable skin over the existing material. It is important to note that while they provide a beautiful, resilient finish, they require a smooth, compatible surface for proper adhesion. They are not suitable for heavily damaged, porous, or deeply routed surfaces where the adhesive cannot form a strong, even bond.

Cabinet Wraps vs Paint
When considering a cabinet makeover, the traditional route has always been repainting. However, cabinet wrap film offers significant advantages over paint. Wrapping is a much cleaner process, eliminating the need for sanding dust, strong chemical fumes, and multiple coats of primer and paint. The installation is dry, meaning the user does not have to wait days for cabinets to cure before using them again.
Furthermore, vinyl wraps provide access to textures and finishes that paint simply cannot replicate, such as realistic wood grains and brushed metals. The DIY flexibility of vinyl allows the wrapper to achieve a flawless, factory-like finish without worrying about brush strokes, roller marks, or uneven coverage.

Peel and Stick Cabinet Covers
Many shoppers begin their renovation journey searching for peel and stick cabinet covers. This term is often used interchangeably to describe adhesive vinyl films designed for cabinet surfaces. Regardless of the terminology used, the product remains the same: a high-quality, self-adhesive architectural film that acts as a cover for the existing cabinet face.
These peel and stick solutions empower the user to execute a complete room transformation over a single weekend. The advanced adhesive technology ensures a strong, lasting bond on compatible surfaces, while the air-release channels built into the film make it easy for the wrapper to smooth out bubbles during installation.

Best Cabinets to Wrap
Vinyl wraps are incredibly versatile and can be used to upgrade storage spaces throughout the entire home or office.

Instantly modernize outdated bathroom cabinet wraps to match new fixtures and countertops.

Elevate office cabinet wraps and entertainment centers with sleek, professional finishes.

Refresh laundry room cabinet wraps and garage storage with durable, easy-to-clean vinyl.
Cabinet Wrap Ideas
The design potential is limitless when working with architectural films. A popular trend is utilizing matte black cabinet wraps for a bold, modern aesthetic, or gloss white cabinet wraps to make a space feel larger and brighter. For a touch of natural warmth, wood grain cabinet wraps provide a highly realistic timber appearance without the cost of real wood.
For an industrial or contemporary vibe, brushed metal cabinet wraps and sleek gray cabinet wraps are excellent choices. Many designers also employ two-tone cabinet wraps, using a lighter color on the upper cabinets and a darker, grounding color on the base units to create visual interest and depth.

How to Measure Cabinets for Wrapping
Accurate measurements are the foundation of a successful cabinet wrap project. For each cabinet door and drawer front, the wrapper must measure the full height and full width of the flat face panel, including any edge lip. Add at least 2 inches to both dimensions to allow for overlap during installation and precise trimming at the edges.
To calculate the total amount of vinyl needed, multiply the height by the width for each individual piece, then add all totals together. It is strongly recommended to purchase an additional 10 to 15 percent of material beyond the calculated total to account for mistakes, pattern matching on textured films like wood grain, and any re-cuts. For a standard kitchen with 20 to 30 cabinet doors and drawer fronts, most projects require between 50 and 150 feet of vinyl film, depending on door size and layout.
Always measure twice before cutting. Record each measurement clearly and label which door or drawer it corresponds to, so the installation process stays organized and efficient.
Choose Your Cabinet Finish
Select the perfect texture and color to complement the room's overall design scheme.
DIY Cabinet Wrap Tips
Preparation is the key to a successful cabinet wrap project. The wrapper must start by removing all hardware, including handles and hinges, to ensure an unobstructed surface. Next, thoroughly clean the cabinets with a strong degreaser to remove all cooking oils, fingerprints, and grime. The surface must be perfectly clean and dry for the adhesive to bond.
Always measure the doors and drawer fronts carefully, cutting the vinyl slightly larger than required. Begin by wrapping the large, flat areas first, using a squeegee to apply firm, even pressure and push out any trapped air. Once the face is smooth, carefully wrap the edges and use a sharp blade to trim away the excess material. It is highly recommended to test adhesion on a small, inconspicuous area before committing to the entire project.

Cabinet Wraps FAQ
Can I wrap any type of cabinet?
Are cabinet wraps removable?
How do I clean wrapped cabinets?
Do I need to wrap the inside of the cabinet doors?
How long does a cabinet wrap last?
Is wrapping cheaper than painting?
Start Your Cabinet Transformation
Ready to upgrade the cabinetry without the mess of paint or the cost of replacement? Browse the extensive collection of architectural films and find the perfect finish for the next DIY project.
Browse Cabinet WrapsTestimonials
 Matt
MattUsed this to finish up a vinyl wrap job on a bathroom cabinet. worked great and matched perfect. Highly recommend this product if you are wrapping cabinets.
 NYC Renter
I've never used vinyl wrap before but found this product fairly easy to work with to recover my old rental kitchen cabinets. It was simple to peel back the vinyl and readjust as you were working with it and I'm really happy with the cloudy blue color. One improvement would be if the backing paper had a full grid on it to help make straighter cuts... Read more
